


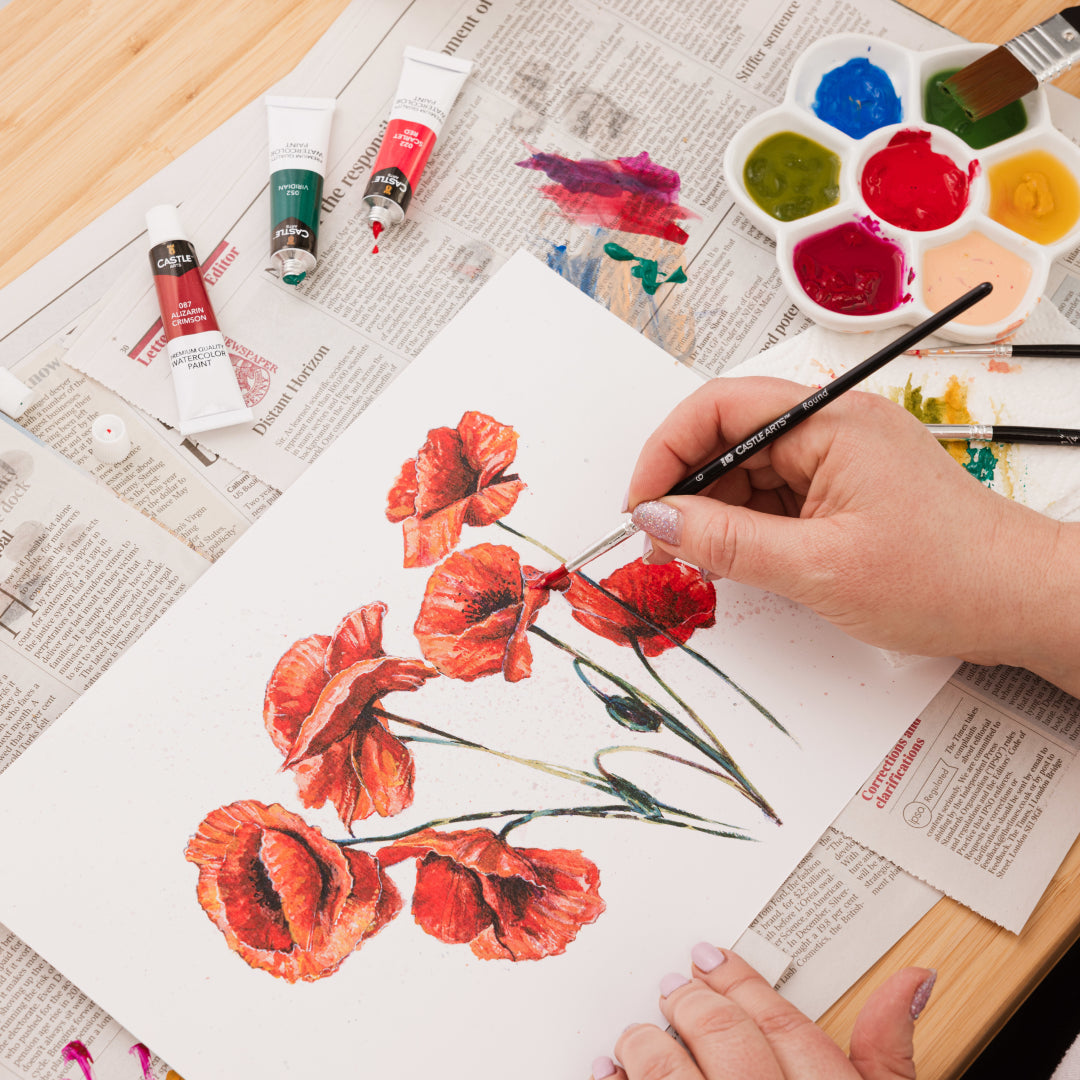
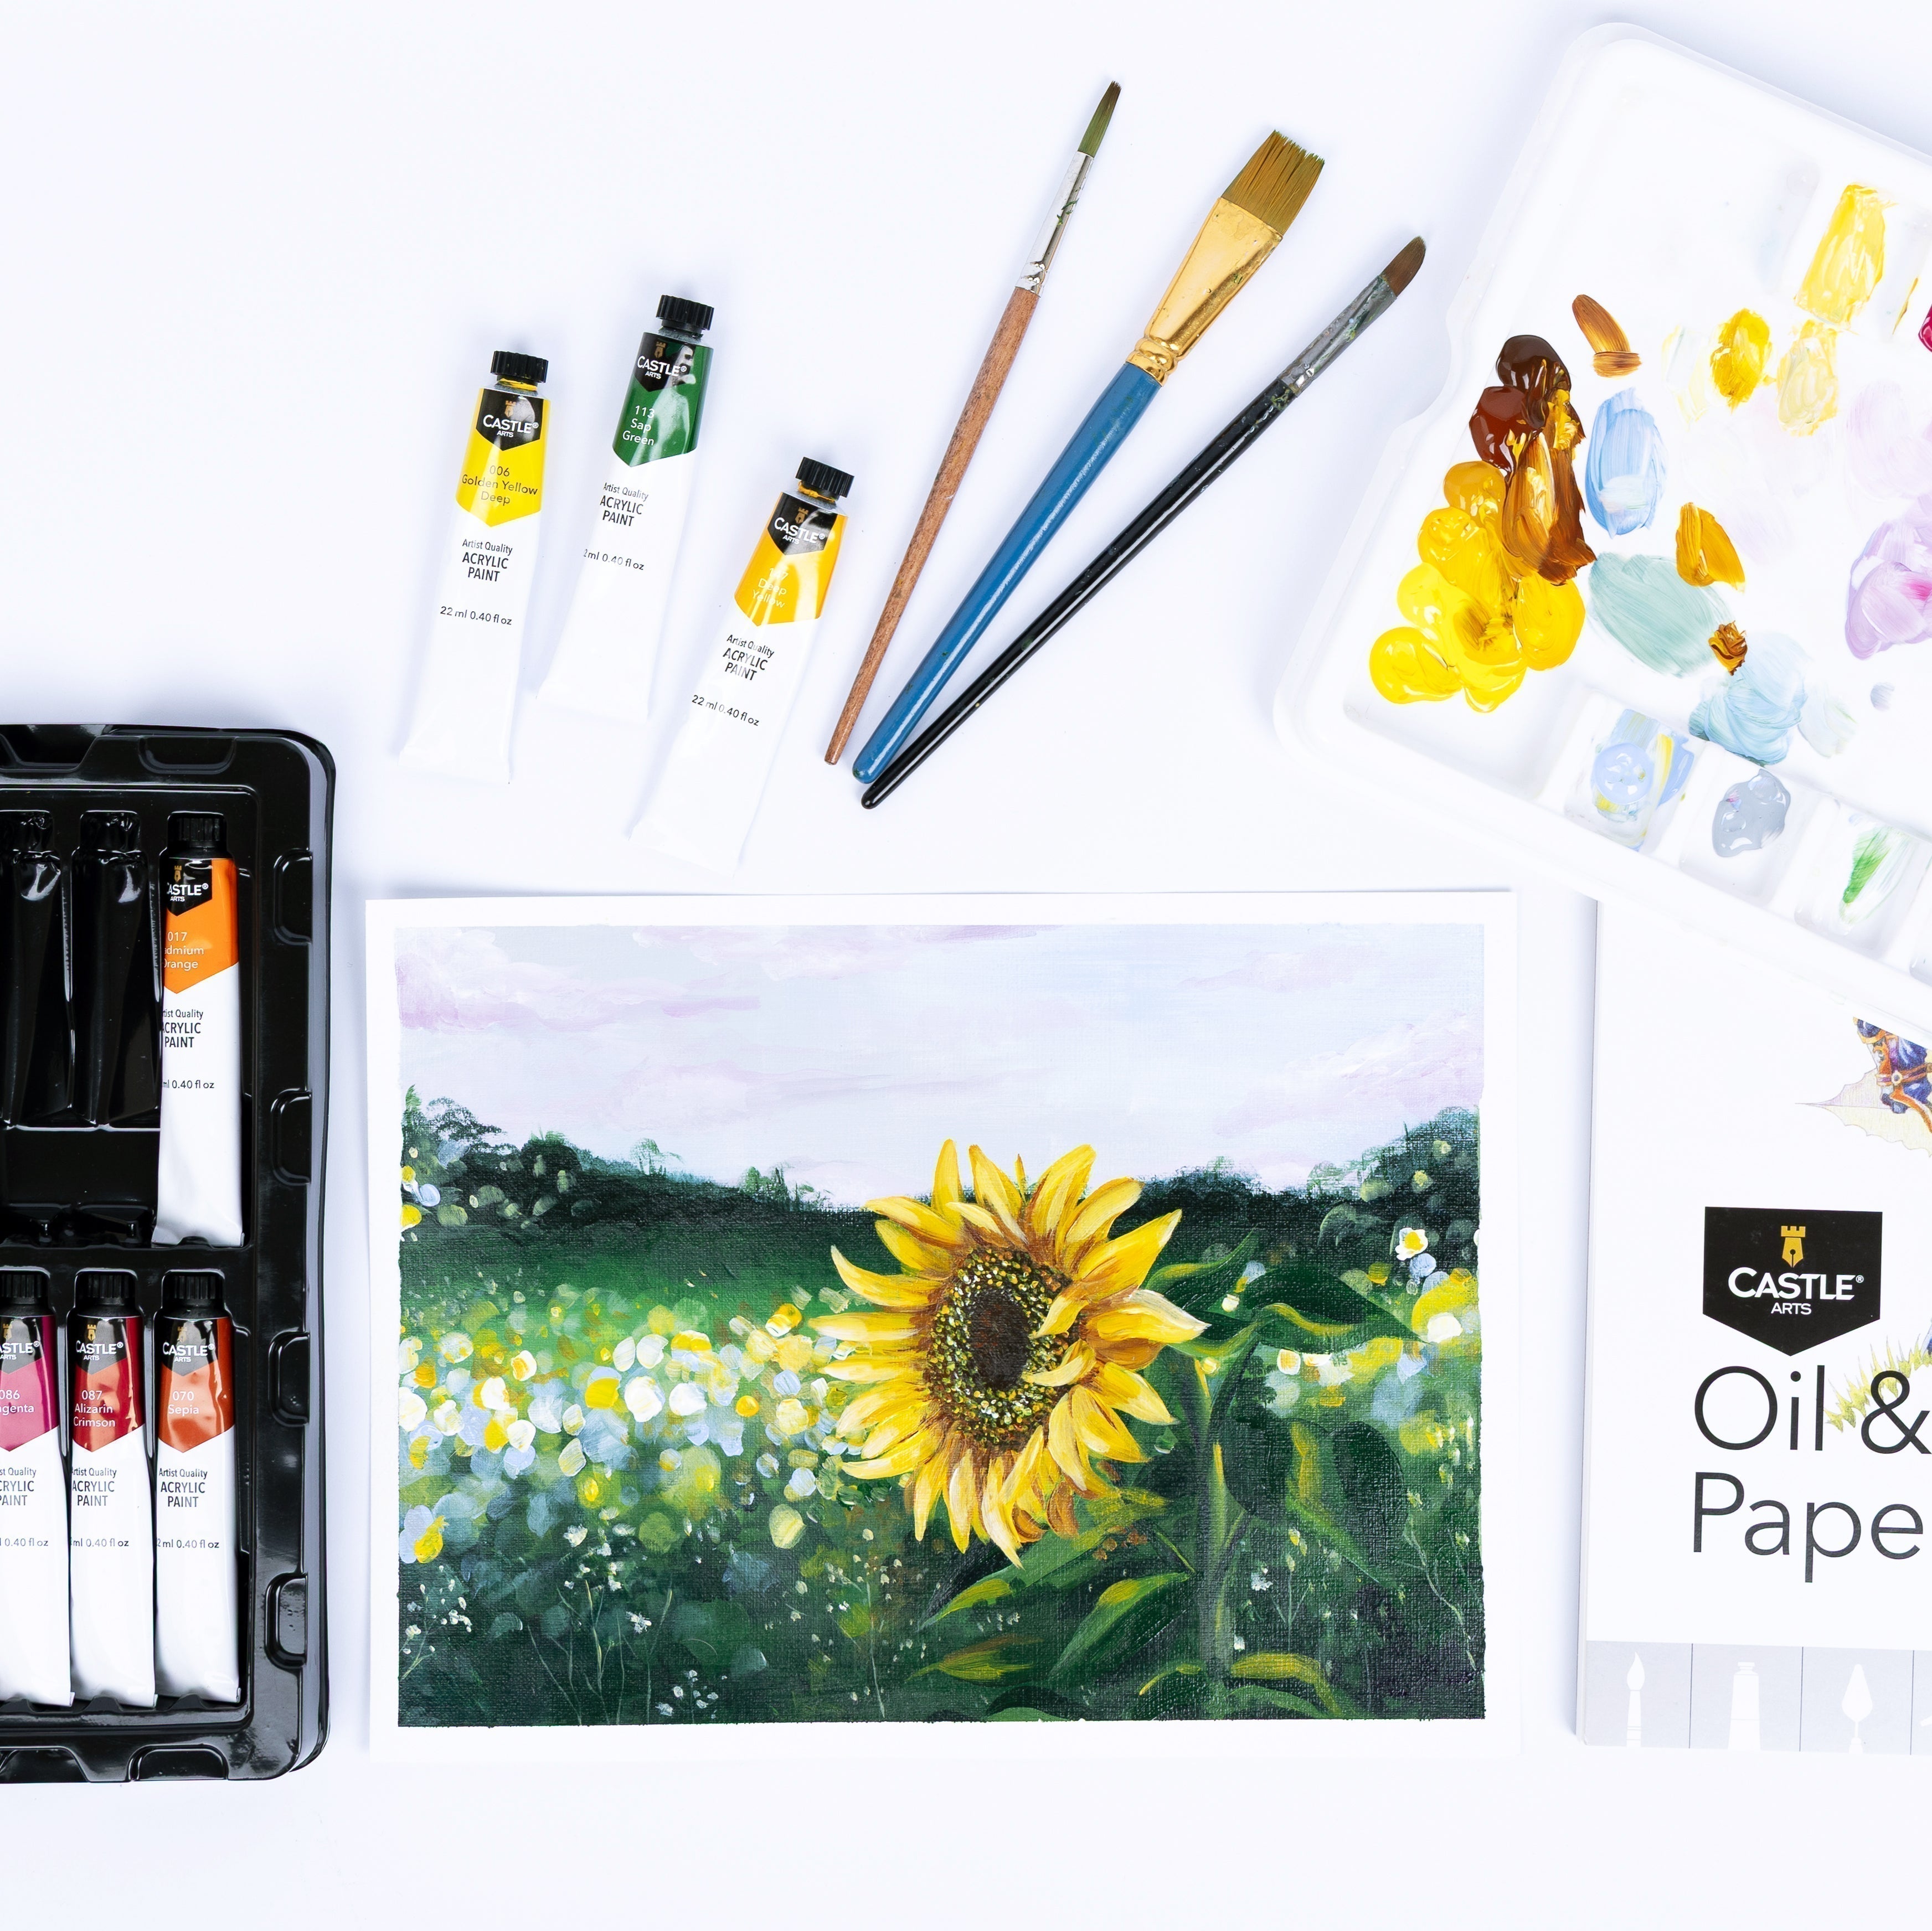
Easter egg painting is a great excuse to get creative and have fun, and there are countless ways to display your DIY creations as part of your Easter home décor. Whether you’re a seasoned artist or a total beginner, it’s easy to achieve egg-cellent results and experiment with different designs using acrylic or oil paints.
We've got four inspiring Easter egg painting ideas to help you get started, from fun animal designs to playful twists on eggs themselves. Pick your favourite or try them all—our step-by-step instructions make it easy for everyone to have a go and enjoy bringing these designs to life!
Gather up your supplies, roll up your sleeves, and get ready to impress friends and family with your Easter egg decorating skills.
Before you get started, make sure you have all the essential materials:
- Eggs (hard-boiled or “blown” to remove the contents)
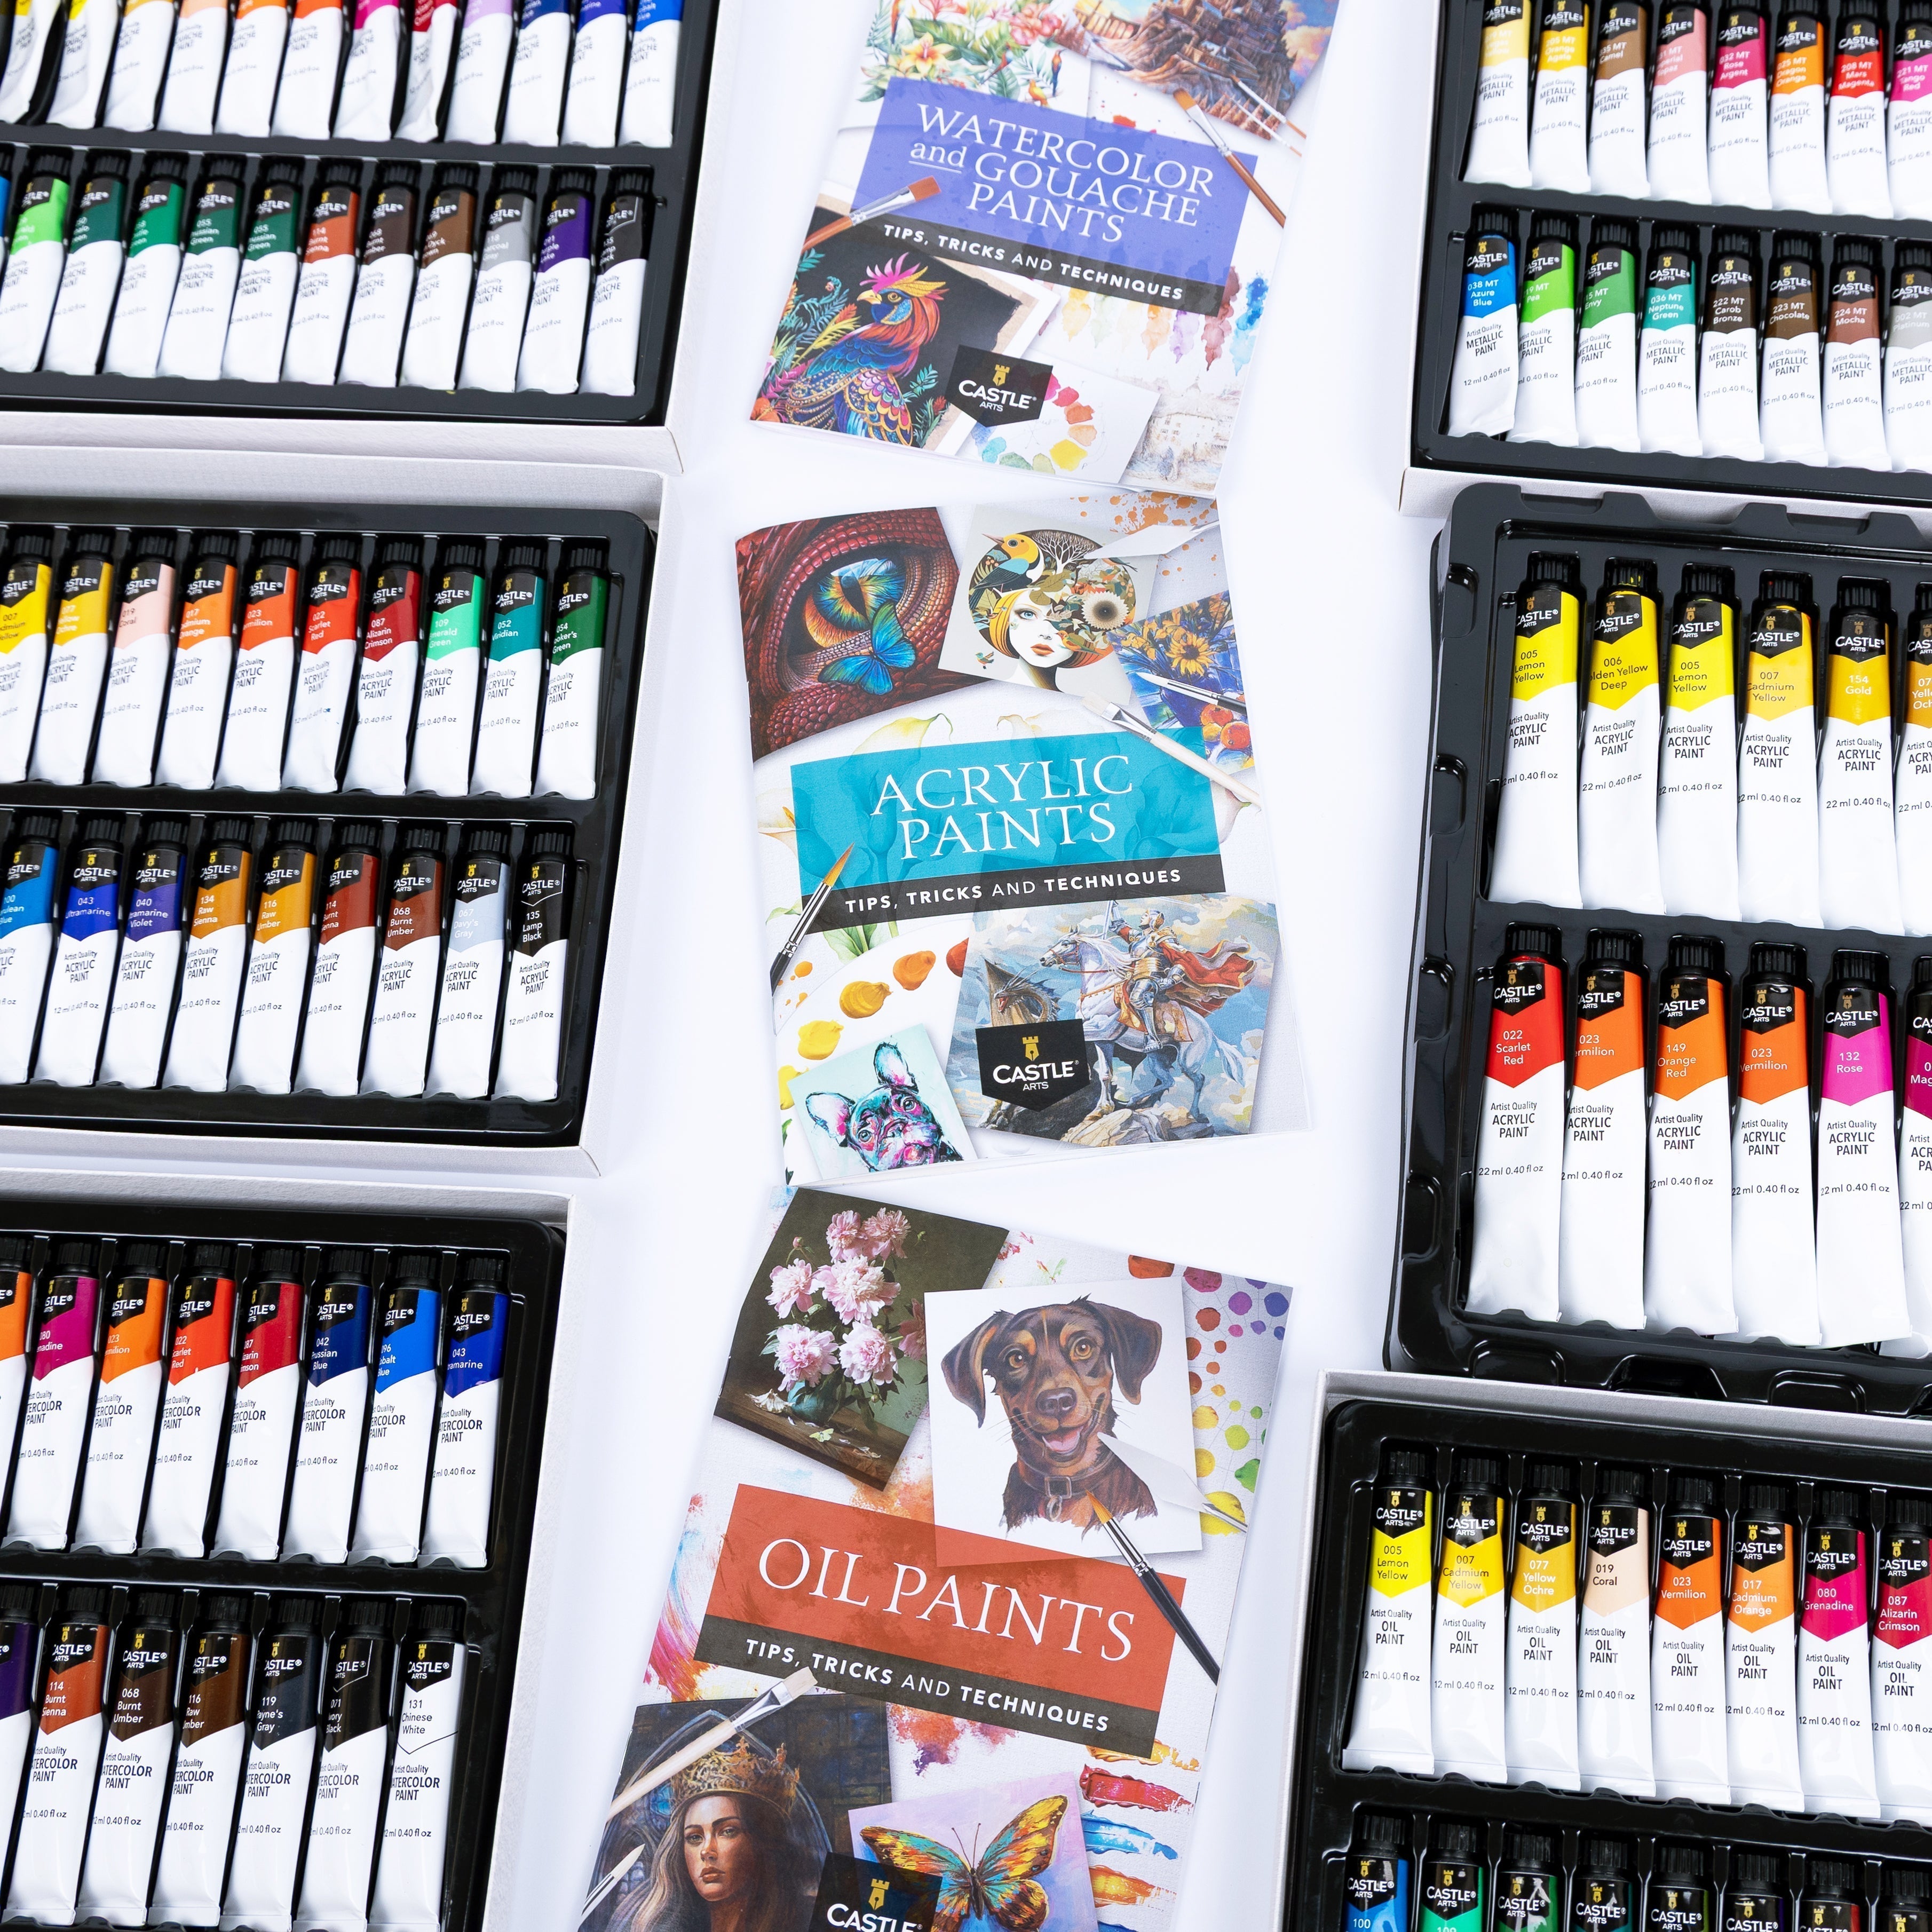
- Paints (we've used acrylic and oil paints). Need to stock up? Shop our selection.
- Paintbrushes
- Water (for acrylic paints)
- White spirit (for oil paints)
- Palette or old plate
- Paper towels
Preparation tips:
- Protect your workspace with newspaper or a wipeable covering.
- Ensure hard-boiled eggs are completely cooled before painting.
- If using raw eggs, gently blow out the contents by making small holes at the top and bottom of the shell and blowing through one of the holes. Blow the egg into a bowl and save it for later to make scrambled eggs or do some baking!
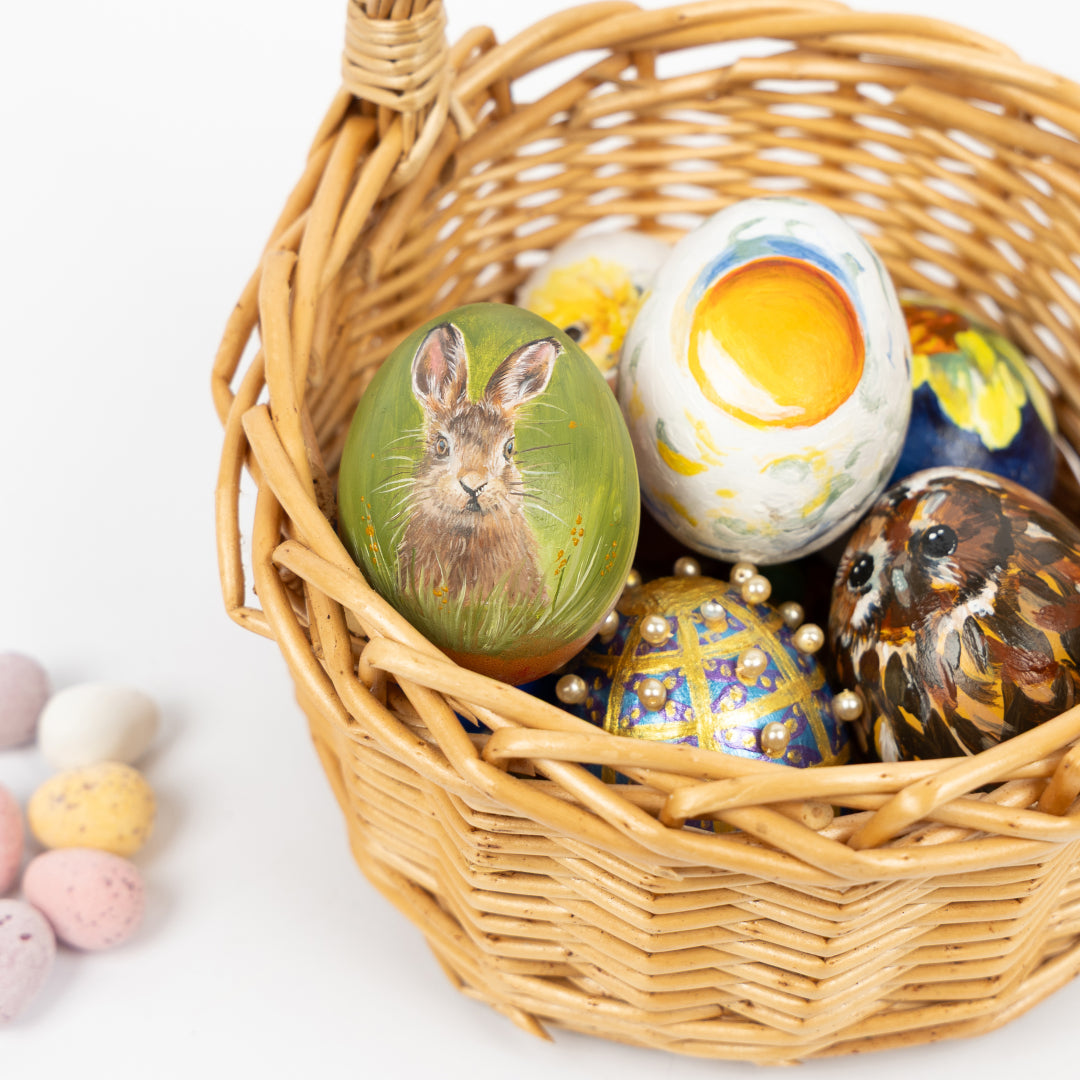
Easter Hare
by Paige Webb

What You'll Need
- An egg
- Small paintbrush
- Castle Arts 24 Piece Oil Paint Set
- Palette
- White spirit to clean brush
- Paper towels
- White acrylic paint
- Optional: small piece of adhesive putty, modelling clay, or similar

Oil paints used: Chinese White, Scarlet Red, Yellow Ochre, Cadmium Yellow, Sap Green, Burnt Sienna, Burnt Umber, Raw Umber, and Ivory Black
Step 1
Apply a white background in acrylic.
Tip: If you find it difficult to hold the egg and paint, roll a piece of adhesive putty into a sausage shape and turn it into a ring. Press your egg lightly into the ring to support it while you paint. You’ll need to rotate the egg and add more paint as it dries.
Step 2

Using a light brown, map a rough outline of the hare.
Step 3

Step 4

Step 5

Begin filling in the hare’s face. Remember to start dark and build lighter details on top. Think about the way the fur grows and follow the pattern with your brushstrokes.
Step 6

Paint the remainder of the hare. When painting the eyes, paint the reflection of the sky to bring the painting into its surroundings.
Step 7
Paint your background, I chose green to mimic a field and added some yellow flowers by dotting some yellow paint on generously.
Finally, paint on some delicate whiskers, using a mix of Chinese White and Burnt Umber.
Sunny Side Up

What You'll Need
- An egg
- Castle Arts 48 Piece Acrylic Paint Set
- Acrylic paintbrushes (I used a size 12 flat brush, a size 5 round brush, and a size 1 round brush for detail)
- Water
-
Palette or old plate
- Paper towels
- Optional: small piece of adhesive putty, modelling clay, or similar

Acrylic paints used: Titanium White, Lemon Yellow, Deep Yellow, Yellow Ochre Deep, Scarlet Red, Prussian Blue, and Van Dyke Brown
Step 1

Use the paint fairly “neat” to get good coverage. Only add enough water to keep the paint moving.
Step 2

Step 3

Step 4

Step 5

Step 6

Finally, add white highlights to the light side of the yolk and egg white to make the colours pop.
Fabulous Fabergé
by Hannah Thorpe

What You'll Need
- An egg
- Castle Arts 24 Piece Metallic Acrylic Paint Set
- Acrylic paintbrushes (I used a medium sized flat brush, a size 2 liner brush, and a size 0 round brush)
- Water
-
Palette or old plate
- Paper towels
- Optional: small piece of adhesive putty, modelling clay, or similar
- Optional: Costume pearls, sequins, or sparkly beads and craft or high adhesion glue (or a hot glue gun)

Step 1

Using a flat brush, cover the whole egg with an even coat of Azure Blue paint. Try not to dilute the paint unless you need to keep the paint moving. Allow to dry fully. Repeat if necessary.
Tip: If you find it difficult to hold the egg and paint, roll a piece of adhesive putty into a sausage shape and turn it into a ring. Press your egg lightly into the ring to support it while you paint. You’ll need to rotate the egg and add more paint as it dries.
Step 2


Taking a liner brush, paint concentric circles around the circumference of the egg using Vegas Yellow paint. Try to keep lines tidy and 1-2mm wide. Aim for 6 or 7 horizontal lines. Allow to dry.
Step 3


Using the liner brush again and more Vegas Yellow, repeat the process, this time painting vertical lines (I divided the egg into 8 for ease) joining the top horizontal band to the bottom. You can paint the top and bottom of the egg with Vegas Yellow or just leave it blue. Allow to dry.
Step 4


In each of the “squares” created by the gold lines, paint a simple four-petal flower design, using the small round brush and Iris Purple paint for petals, and adding more Vegas Yellow for the centre. Allow to dry.
Step 5

Step 6 (optional)

To add some extra opulence, add a small blob of glue to the centre of each flower and stick on a small pearl, bead, or sequin.
Tip: this is fiddly and you may find it helpful to use a pair of tweezers!
Tawny Owl
by Hannah Thorpe

What You'll Need
- An egg
- Castle Arts 48 Piece Acrylic Paint Set
- Acrylic paintbrushes (I used a medium sized flat brush, a size 2 liner brush and a size 0 round brush)
- Water
-
Palette or old plate
- Paper towels
- Optional: small piece of adhesive putty, modelling clay, or similar

Acrylic paints used: Titanium White, Yellow Ochre, Burnt Sienna, Burnt Umber, Van Dyke Brown, and Lamp Black
Step 1

Tip: If you find it difficult to hold the egg and paint, roll a piece of adhesive putty into a sausage shape and turn it into a ring. Press your egg lightly into the ring to support it while you paint. You’ll need to rotate the egg and add more paint as it dries.
Step 2

Using the size 0 round brush, paint a simple heart shape towards the top of the egg in Van Dyke brown. It doesn’t have to be neat!
Step 3

Step 4

Step 5

Step 6

Step 7

Step 8

Mix a little grey paint using white and black and add a thin line in the midline of the face, just above the apex of the heart, with the small round brush. This will represent the beak.
Tip: You can add a touch of Burnt Sienna to the tip of the beak to make it more realistic.
Step 9

Tip: you could use a white gel pen for this if you’d prefer.
Once you’re done creating and your designs are all dry, you may choose to apply a coat of clear varnish or sealant.
You could try displaying your painted eggs in a basket, vase, or glass dish to make a beautiful table centrepiece, organise them in a ceramic egg tray, or use ribbon and hot glue to hang them on branches and make your own Easter egg tree.

If you enjoyed this fun Easter art activity, don’t forget to share your creations with us on Instagram! Tag @castleartsofficial and use #castlearts to show off your egg-citing DIY decorations.
Share: